
INGREDIENTS:
2 cups (290 g) gluten-free all-purpose flour
1/4 teaspoon salt
1/2 cup (113 g) unsalted butter, at room temperature, cut into pieces
1 cup (198 g) sugar
2 teaspoons vanilla extract
1 large egg, at room temperature
PREPARATION:
Whisk flour and salt together in a small bowl to aerate and combine; set aside.
Place butter in bowl of mixer and beat with flat paddle on medium-high speed until creamy, about 2 minutes. (Or use hand-held electric mixer, beaters and a large bowl). Add sugar gradually and continue beating until light and fluffy, about 3 minutes, scraping down the bowl once or twice; beat in vanilla extract. Add egg and beat well until combined, again scraping down the bowl once or twice.
Turn machine off, add about one-third of the flour, then turn machine onto low-speed. Gradually add remaining flour, mixing just until blended, scraping down bowl once or twice. Form into a very flat disc, wrap in plastic wrap and refrigerate at least 1 hour or until firm enough to roll. Dough may be refrigerated overnight but it is easier to work with when just chilled.
Meanwhile, position racks in lower and upper oven. Preheat oven to 350°F/180°C. Line two cookie sheet pans with parchment paper.
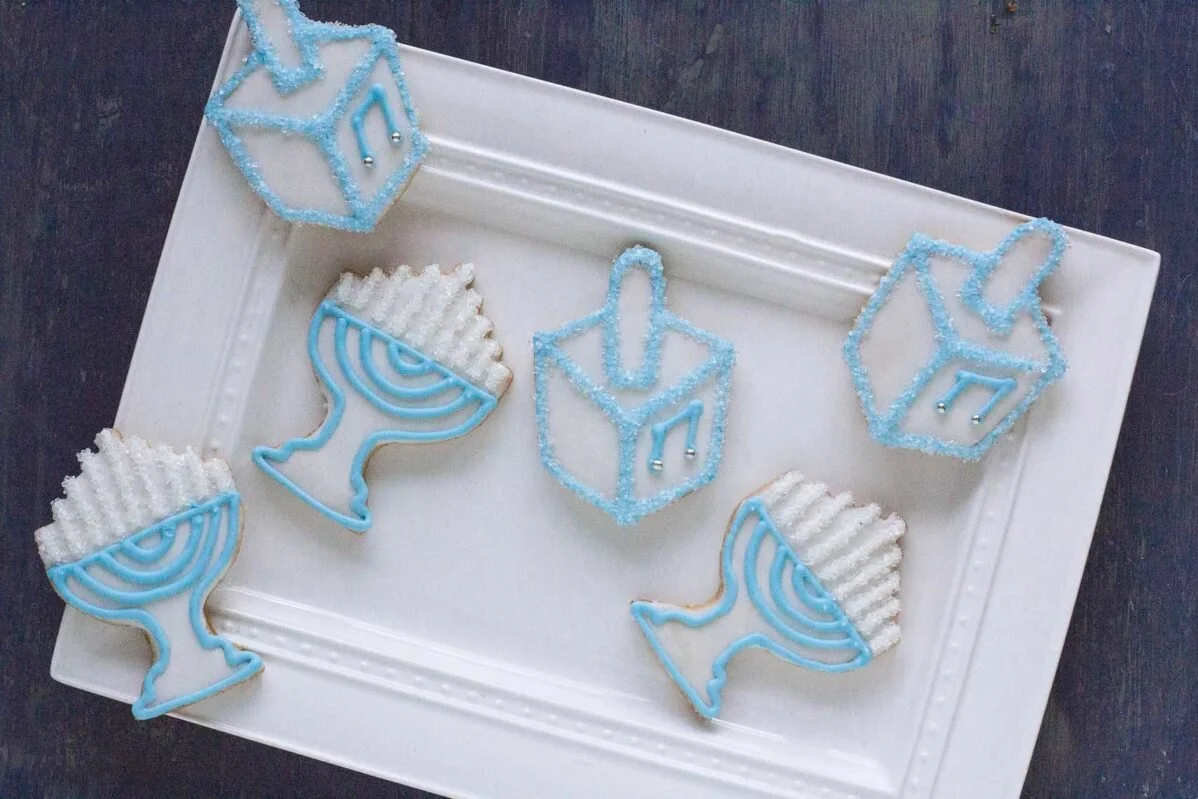
Remove cookie dough from refrigerator and roll out to ¼ inch (6 mm) thickness on lightly floured parchment paper; I like to lightly flour the rolling pin too. Cut out cookies with shapes of choice, like stars of David and Torah shapes. Transfer cookies to prepared pans placing 1 ½ inches (4 cm) apart. Decorate with colored sugars or regular sugar either in decorative patterns or freeform using photograph for ideas. Leave unadorned if you will be decorating with icing after cooling.
Bake for about 8 to 10 minutes or until edges have just begun to turn light golden brown. Slide parchment onto racks to cool cookies completely. Cool pans between batches and repeat with remaining dough. Cookies may be stored at room temperature in an airtight container for up to 1 month.
FOR DECORATING:
Thick Royal Icing:
3 cups (270 g) sifted confectioners’ sugar
3 large egg whites (see Tips)
Gel or paste food coloring
Medium Royal Icing
3 cups (270 g) sifted confectioners’ sugar
3 large egg whites (see Tips)
1 tablespoon water
Gel or paste food coloring
Thin Royal Icing:
3 cups (270 g) sifted confectioners’ sugar
3 large egg whites (see Tips)
2 tablespoons water
Gel or paste food coloring
PREPARATION:
For any Royal Icing: Place confectioners’ sugar and egg whites (or substitute), and water, if using, in a clean and grease-free bowl. Whip on high speed with electric mixer until thick and creamy, about 6 minutes. (If using a stand mixer, use the balloon whip attachment). Tint, if desired, with food coloring. Use a toothpick to pick up small amounts of color; you can always add more.
Thicker icing is used for bold 3-D type effects like hair anything that you need to stand out in clear relief and detail. A dab of thick icing will be stiff enough to hold a peak. If piped through a star tip it will cleanly hold its shape.
Medium icing can be used to pipe a complete border around the cookies’ edges (to form a retaining wall, which will then be filled with Thin textured icing). Medium icing can also is used to create some details to already dry icing (such as adding eyes to an already iced and dry cookie). A dab of medium textured icing will hold its shape when piped.
Thinner icing is used to cover cookies completely, or to cover partial sections that have been outlined with a thick textured border. Two colors (or more) of thin icing can be swirled together to create a marbled effect. It will have the texture of thick cream.
To Ice Cookies: If you want to completely cover the cookies, Make both Medium and Thin textured icing in the same color. Scrape the Medium into a pastry bag fitted with coupler and a very small round tip (such as Ateco #2) and pipe an outline, either all around the edge of the cookie, or to define a section you want to cover with icing. Make sure to create a solid line all the way around. Allow to dry, then fill the outlined section with the same color Thin icing. Allow the icing to flow into the area within the outlined area.
If you want to add sparkle, you can sprinkle on coarse sugar to the wet icing.
After this thin icing dries, you can embellish with thicker textured icings. We used a Medium texture for the lines on our snowflakes, scarves and buttons on our snowmen and tree decorations. See photographs for ideas.
Cookies may be stored at room temperature in an airtight container for up to 1 month; these are best stored in single layers separated by waxed or parchment paper.
Photo and recipe from FODMAP Everyday